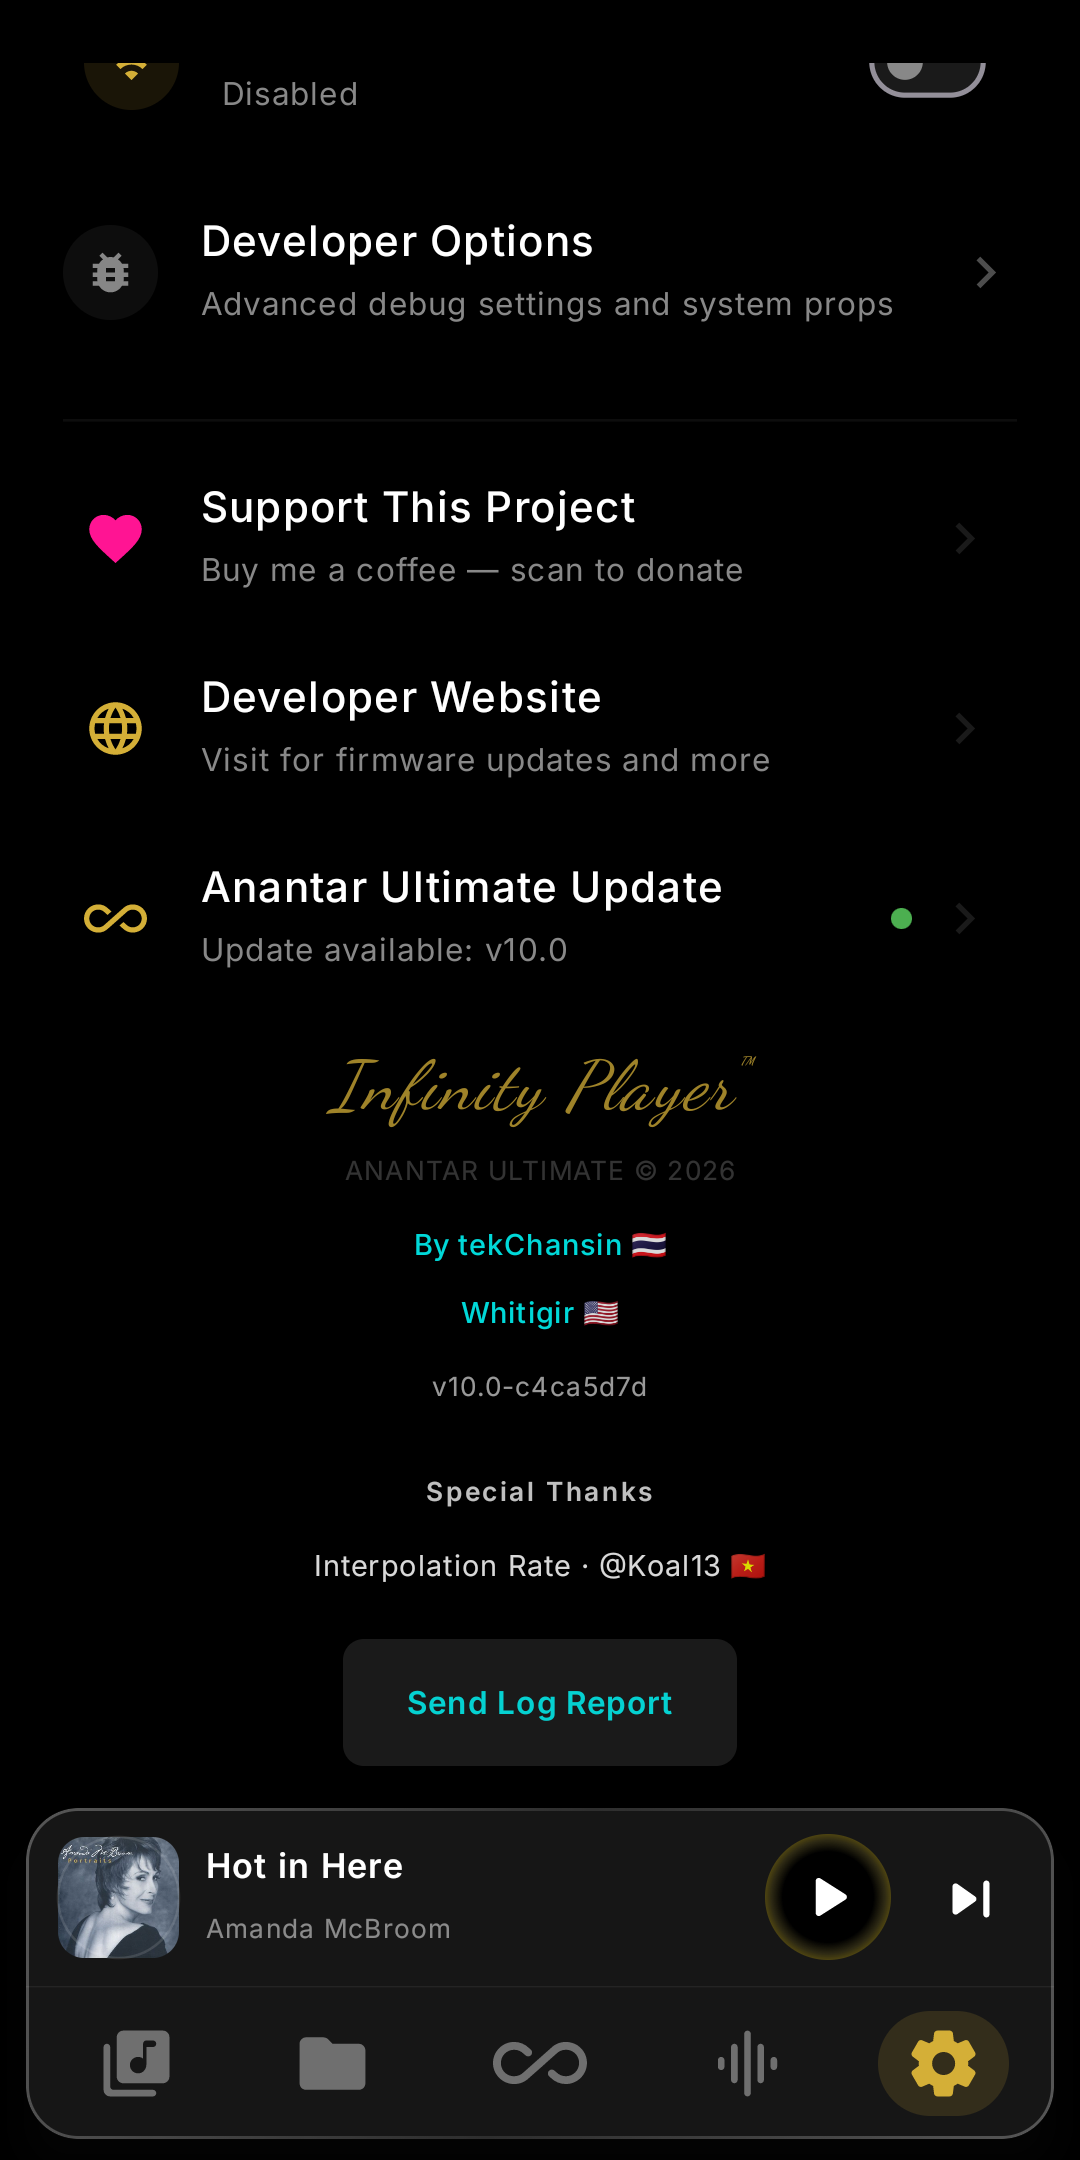
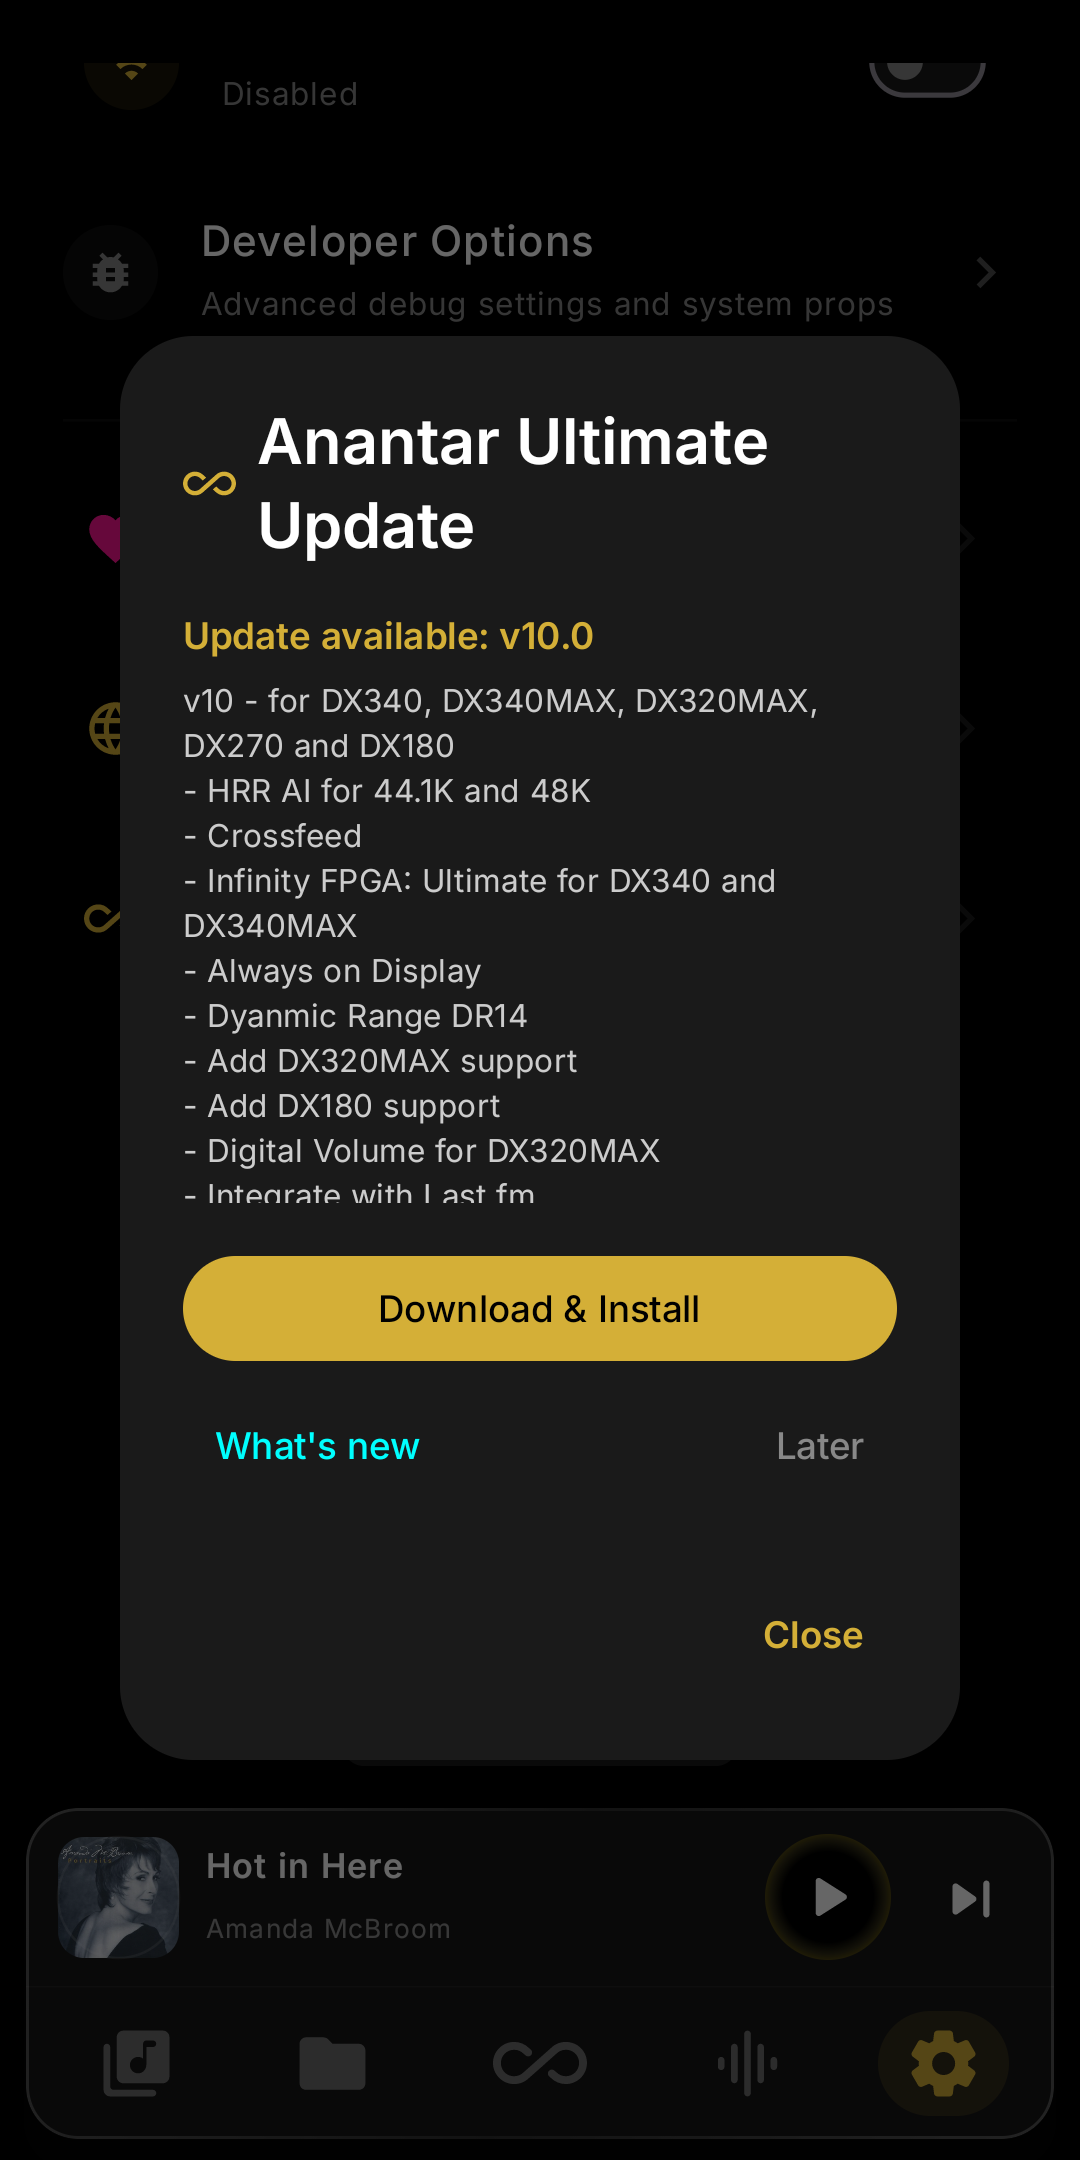
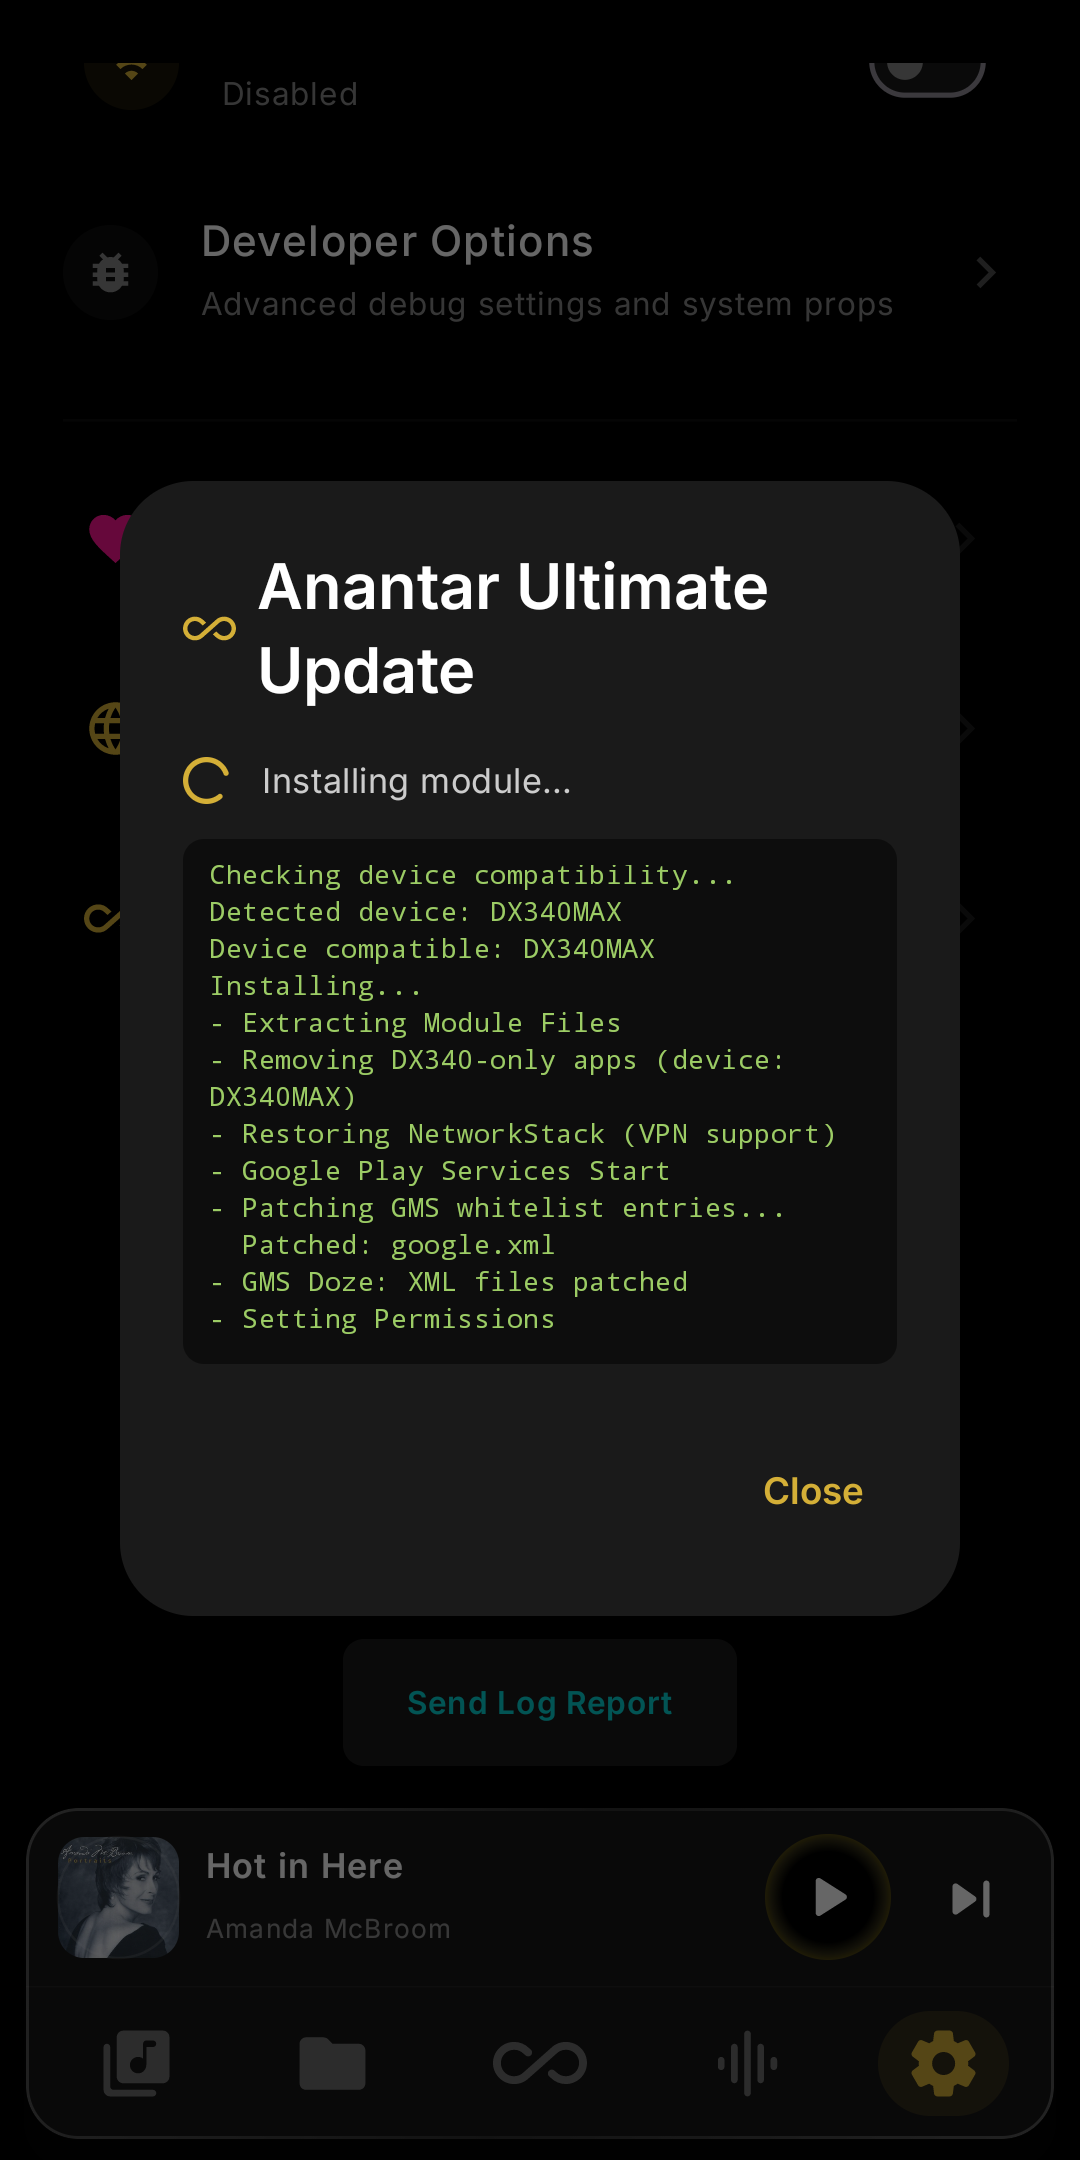
The fully automated installer handles ADB checks, debloating, rooting, and module installation — automatically.
A few minutes of prep makes the rest painless. Have these ready and you are good to go.
Follow them in order. The installer does the heavy lifting — you just authorize and wait.
This lets your computer talk to your player. You only do it once, and there's nothing to break. Do all three parts below on the player (DX340 / DX340Max / DX270) in Android mode, in order.
Settings › About phone › tap Build number 7 times
You'll see "You are now a developer!" when it works. Enter your PIN if asked.
Settings › System › Developer options › USB debugging: ON
"Developer options" only shows up after the first part. Tap OK on any warning — it's safe.
Plug in the USB-C cable › tap Allow on the pop-up
Tick "Always allow from this computer" first. No pop-up? Re-plug the cable or unlock the screen.
📸 Step by step — tap any image to enlarge
⬇ Download Anantar-Ultimate-Installer.zip
Extract the ZIP to any folder. Keep Wi-Fi connected during the install so the device can fetch what it needs.
Open the file that matches your computer:
Windows-Anantar-Ultimate-Installer.bat
🍎 macOS / Linux: MacOS-Anantar-Ultimate-Installer.command
macOS Tip: If it fails, open Terminal → type chmod +x → drag the .command file in → press Enter → try again.
Windows Tip: If the installer can't find ADB, download platform-tools, extract it, and place the platform-tools folder inside the installer folder. Then run the .bat again.
Follow the on-screen prompts. If Magisk asks for "Additional Setup", tap OK. Wait for the ANANTAR ULTIMATE logo in the terminal — the device then reboots automatically.
Once installed, future versions update straight from the device. No computer needed.
Open the Magisk app, go to the Modules tab (bottom right), find Anantar Ultimate, and tap Update.
Wait for "Finished" or "Success" — done.
Everything below is optional. Expand only what you need — your install already sounds great without it.
Switching your microSD from exFAT to EXT4 is one of the most impactful changes you can make for audio quality.
Why it helps: EXT4 is handled natively by the Linux kernel, removing the exFAT FUSE/software translation layer. That lowers CPU overhead and electrical noise — expect roughly a 10–15% SQ improvement: a larger soundstage, better 3D positioning, and more micro-detail. Anantar Ultimate provides full native EXT4 support in MangoOS.
Format via ADB:
Limitations & how to revert:
Uninstall completely:
💡 If sending the device to iBasso for service, factory reset after unrooting.
A-B test (disable / enable):
adb reboot recovery.adb sideload DX340_full_ota_x.xx.zip.⚠️ Windows 11 has issues with fastboot — use QFIL or ADB sideload instead.
Don't panic. Every scenario has a documented path back — from a stuck boot to a full reflash.
The DX340 uses a Qualcomm SoC, so you can flash the entire firmware via QFIL (Qualcomm Flash Image Loader).
What you need:
Steps to flash (high-level):